There are many different ways of creating a truly frightening picture when it comes to horror photography. From the blood and gore that splatters over a victim’s face to make them look like some vicious beast has attacked them through to the twisted limbs of an undead creature that have been used to portray their true nature, it is clear to see that there are plenty of gruesome methods employed when trying to create something terrifying.
However, one thing that has become quite popular with those who enjoy taking photographs of horrific images is using real human blood. Why do photographers use real blood? What can it add to a photograph? How does it work best? In this article, we’re going to be looking at these questions and more so that you can try your hand at producing some truly horrifying pictures of your own!
Using real blood in photos isn’t exactly new; many of the most famous horror photographs from the last century (and even before) have featured real blood being used to great effect. Of course, blood was commonly used in movies back then, too but as technology has progressed, so too have the tools available for capturing images. Nowadays, it is possible to buy a simple camera that will allow you to take some truly spectacular shots without ever worrying about getting your hands dirty or risking infection.
Cory Cowley is a writer, photographer, artist, and actor who has always believed in the power of gore. She likes her zombies bloody, her monsters grotesque, and her killers cruel. She has always used real human blood in her art to make her pictures stand out, no matter how small or large they may be. As she says: “I like my work to shock people. I wanted to use real blood because I thought it would be unique and disgusting. It’s also very symbolic of death and evil.”
Suppose you’re serious about making a living out of snapping pictures of spooky scenes. You’ll need to invest in some professional equipment which means you should consider buying some fake blood. You can easily find this online or from costume shops, but if you want to get into the Halloween spirit and are willing to put the time in, you could always make your own. It’s not difficult at all and you probably already have everything you need in your kitchen cupboards! However, the same cannot be said for people who want to capture the horror scene with their cameras.
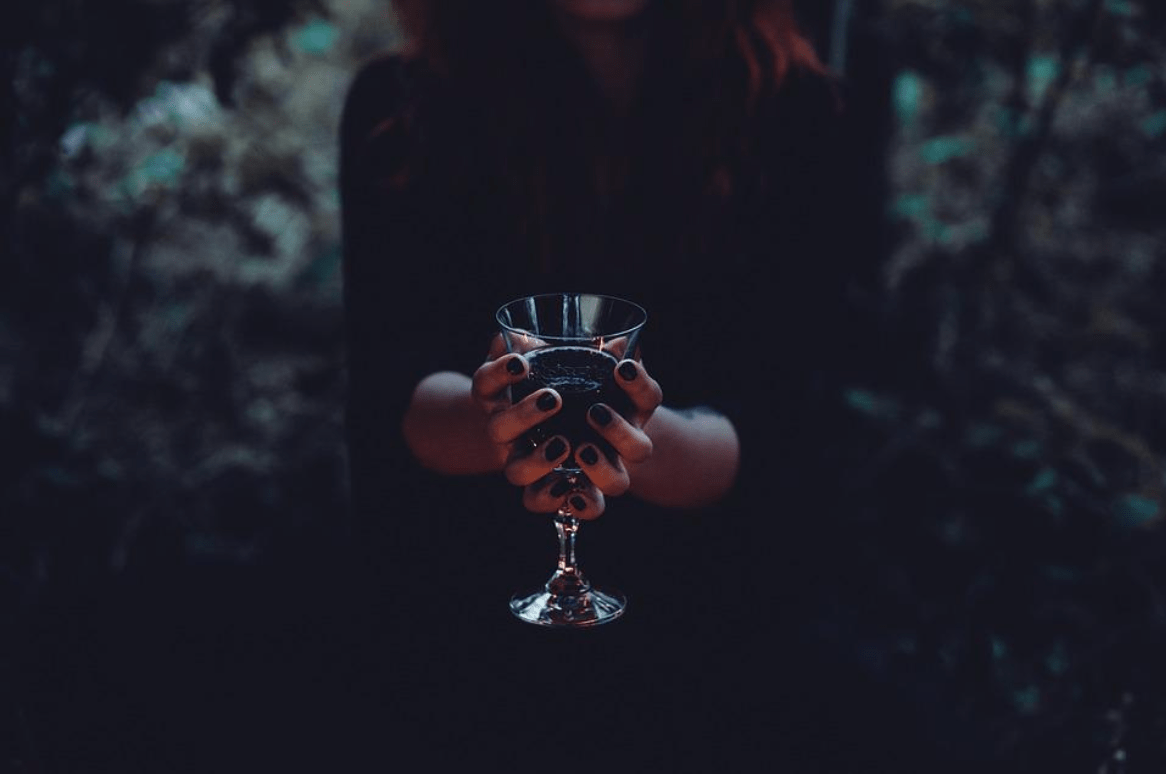
How to Take a Great Picture Using Real Blood
Whether you decide to buy ready-made fake blood or spend hours concocting your invention, it is worth considering some of the basic rules and techniques involved in taking pictures with real blood. Many horror movies have used this technique to great effect, but what makes them so effective?
Let’s take a look:
1. Choose the Right Location
There are plenty of places you can choose from so long as you pay attention to the weather forecast beforehand. You don’t necessarily have to shop near a graveyard or on the grounds of a haunted house; you need somewhere dark, isolated, and perhaps damp. The latter point is especially important because blood tends to clot quickly under normal conditions. If you’re shooting outdoors, you could end up with some rather unsightly patches of red mud.
2. Keep the Lighting Consistent
You need to keep the light source consistent if you’re using blood in your pictures. This will help you avoid unwanted shadows and ensure that every drop of blood looks realistic. Also, bear in mind that some types of torches produce less than ideal light quality. For example, if you’re planning to photograph a corpse and want the blood to appear fresh, using a torch might make it look worse! Think about using a torch when you’re shooting indoors but if you do, make sure that you’re wearing gloves or you risk burning yourself.
3. Don’t Forget About the Background
This is particularly important if you’re setting up your shot in a creepy location such as a graveyard or a derelict building. Make sure that whatever background you choose for your shoot isn’t too distracting; otherwise, it could spoil the overall composition of the image.
4. Use the Right Props and Accessories
If you want your photos to look authentic, don’t just rely on the blood. There are plenty of other accessories which can be added to the mix to give the whole thing a more haunting feel – think about adding fake eyeballs, severed limbs, rotting teeth, and even bones and skulls. When it comes to props, though, it’s important not to go overboard. Too much clutter could distract from the main focus of the shot, namely the blood.
5. Try Different Angles
The same goes for the angle you choose to shoot from. Some of the most iconic photos feature the blood dripping from a victim’s head or splattered across a wall, but there are plenty of other options to try out. Think about positioning yourself so that the blood flows down a wall or onto someone’s face. Just make sure that you’ve got the right settings to capture the best possible image!
6. Experiment with Different Colors
Unless you want your blood to look bright red, you should experiment with different colors. Darker colors work better since they tend to better blend in with the surroundings, although bright red blood is certainly more eye-catching. It’s also worth experimenting with different sizes, particularly if you’re using the same fake blood repeatedly.
Final Words
As we’ve seen, real blood photography is one of the most effective ways to capture the horror genre. It can make for some stunning images that will undoubtedly draw plenty of attention and inspire fear in the hearts of those who view them. Armed with the information you’ve learned here, however, you should now have a good idea of how to take great bloody pictures of your own. So, what are you waiting for? Get out there and start snapping some photos!